Documentation menu
Developer guides
Ola Maps Style Editor
Style Editor helps you create a map appearance that fits your application. Start with either the Light Standard or Dark Standard style, then customize selected visual elements in a simple graphical interface. You can preview your changes as you work, without writing styling code.
What can you customize?
- Colors: Adjust the colors used for map features such as roads, water bodies, buildings, and land areas.
- Labels: Change label sizes to improve readability in your application.
- Visibility: Show or hide supported map layers to control the amount of detail displayed.
Using Style Editor
1. Open Style Editor
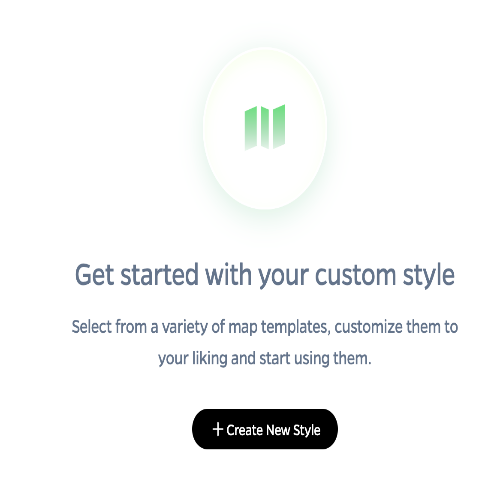
- Open the Maps section in the Ola Maps dashboard and select Map Studio.
- Review the introduction to Style Editor.
- Select Create New Style to begin.
2. Choose a starting style
Choose one of the two predefined styles as the foundation for your custom style: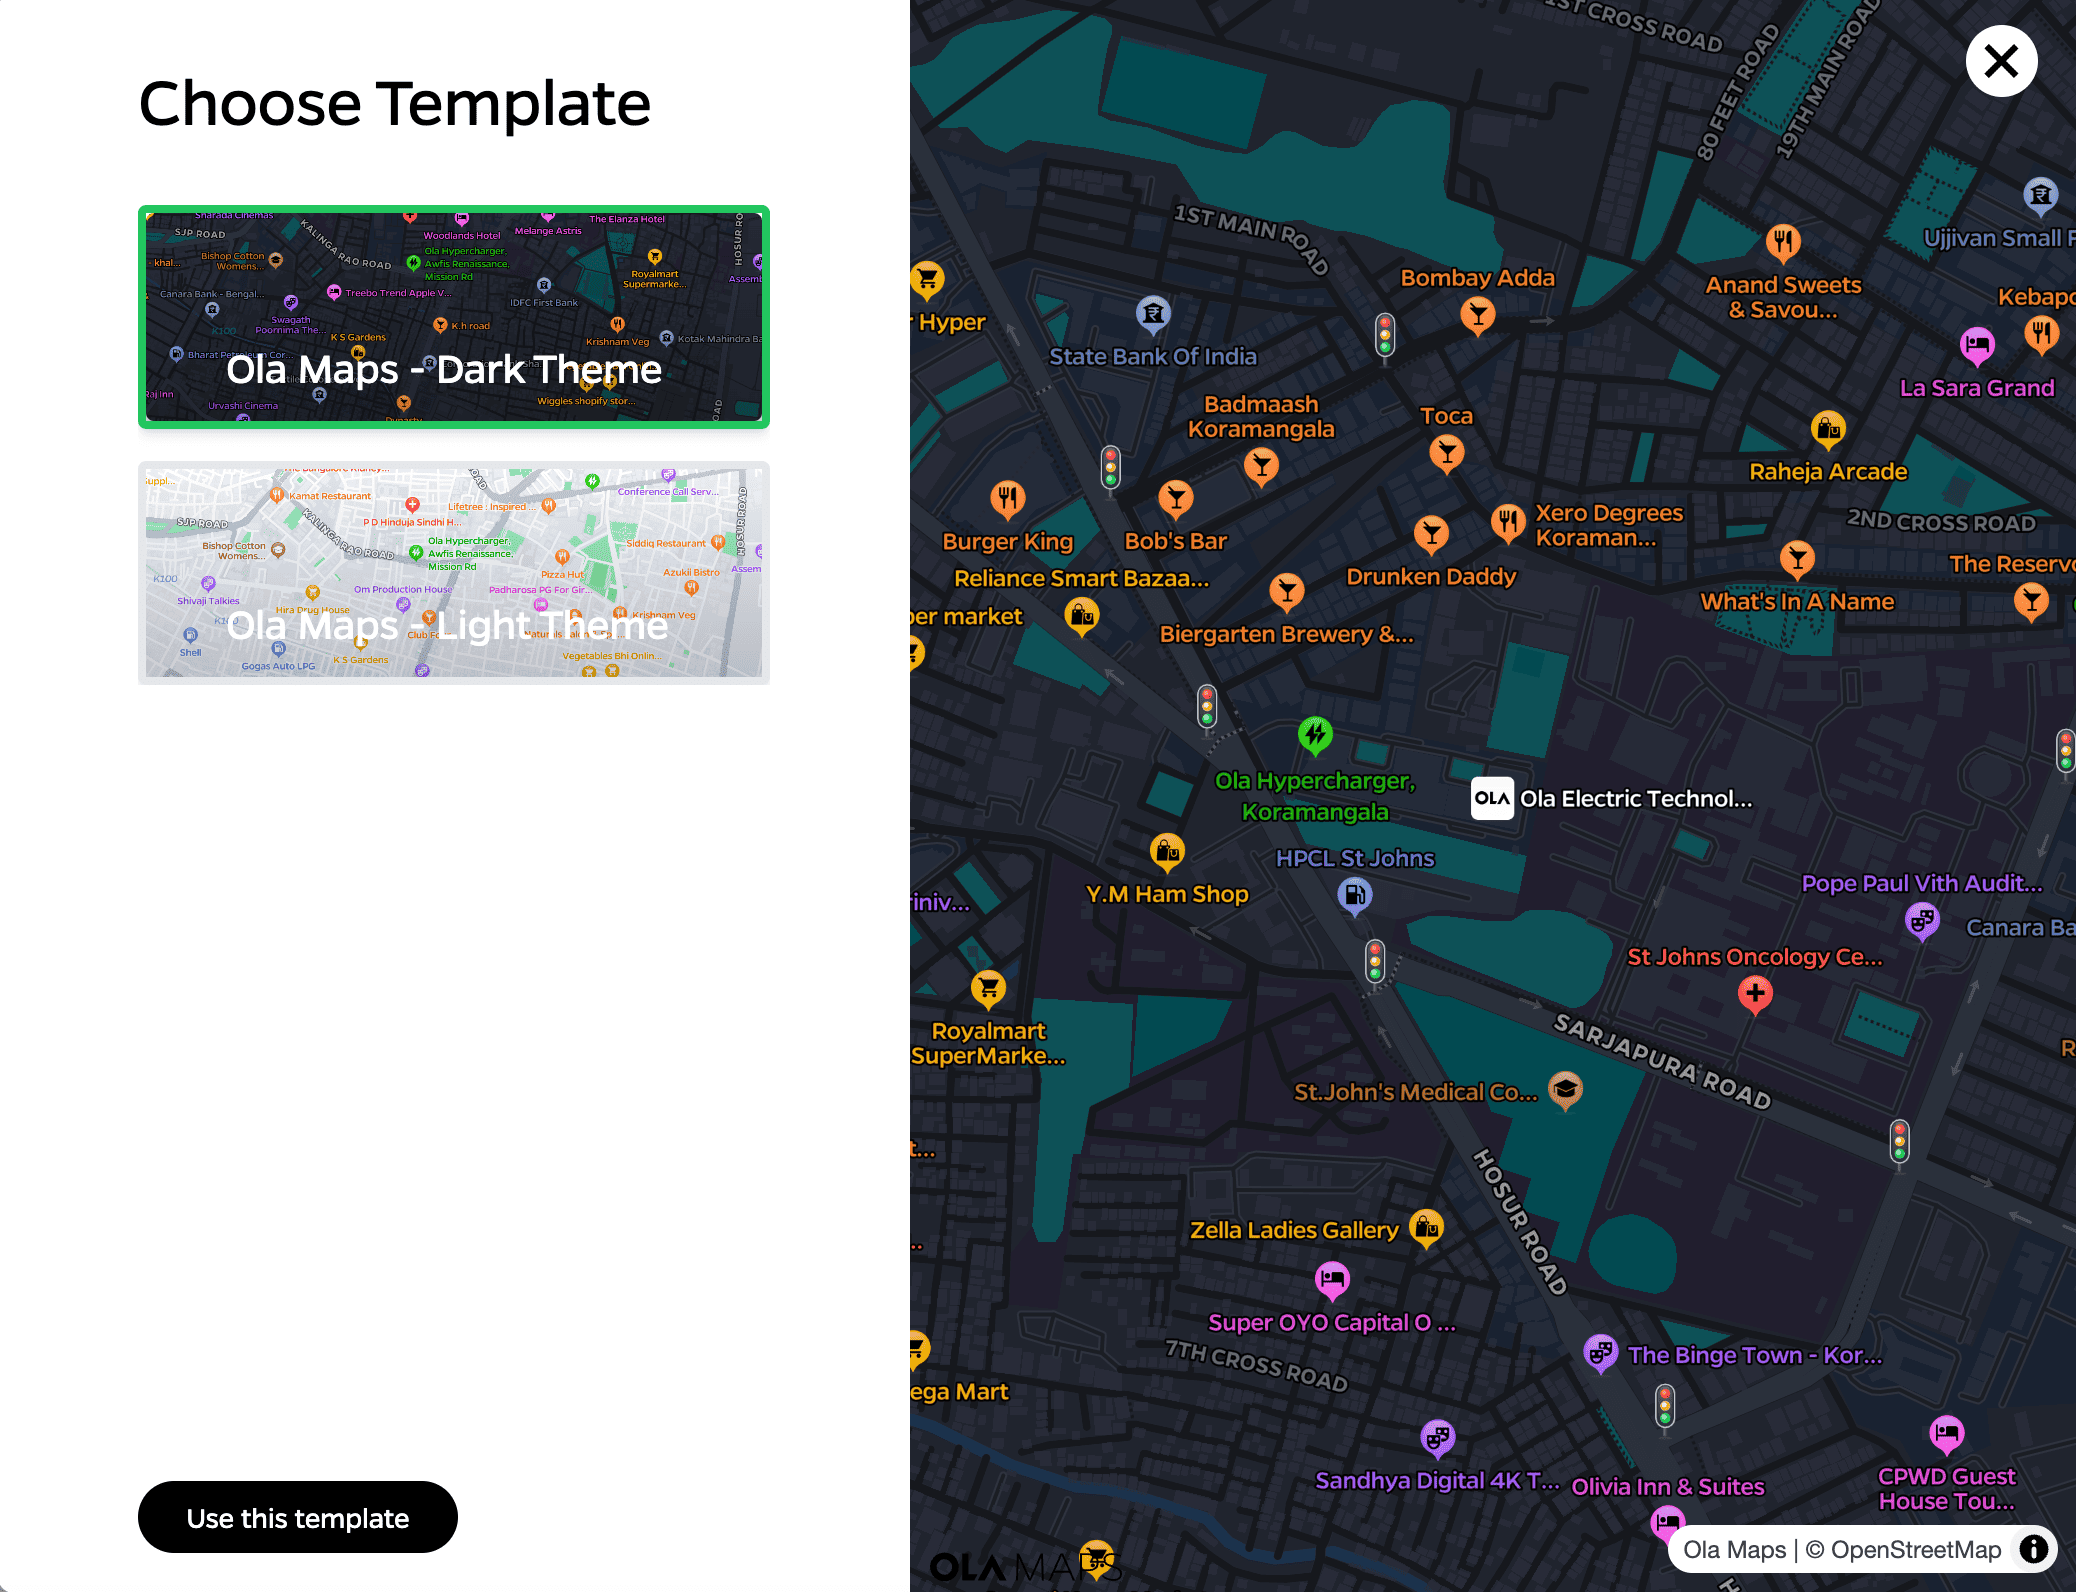
- Light Standard for bright interfaces and daytime use.
- Dark Standard for dark interfaces and low-light environments.
3. Understand the editor workspace
Style Editor is organized into three main areas: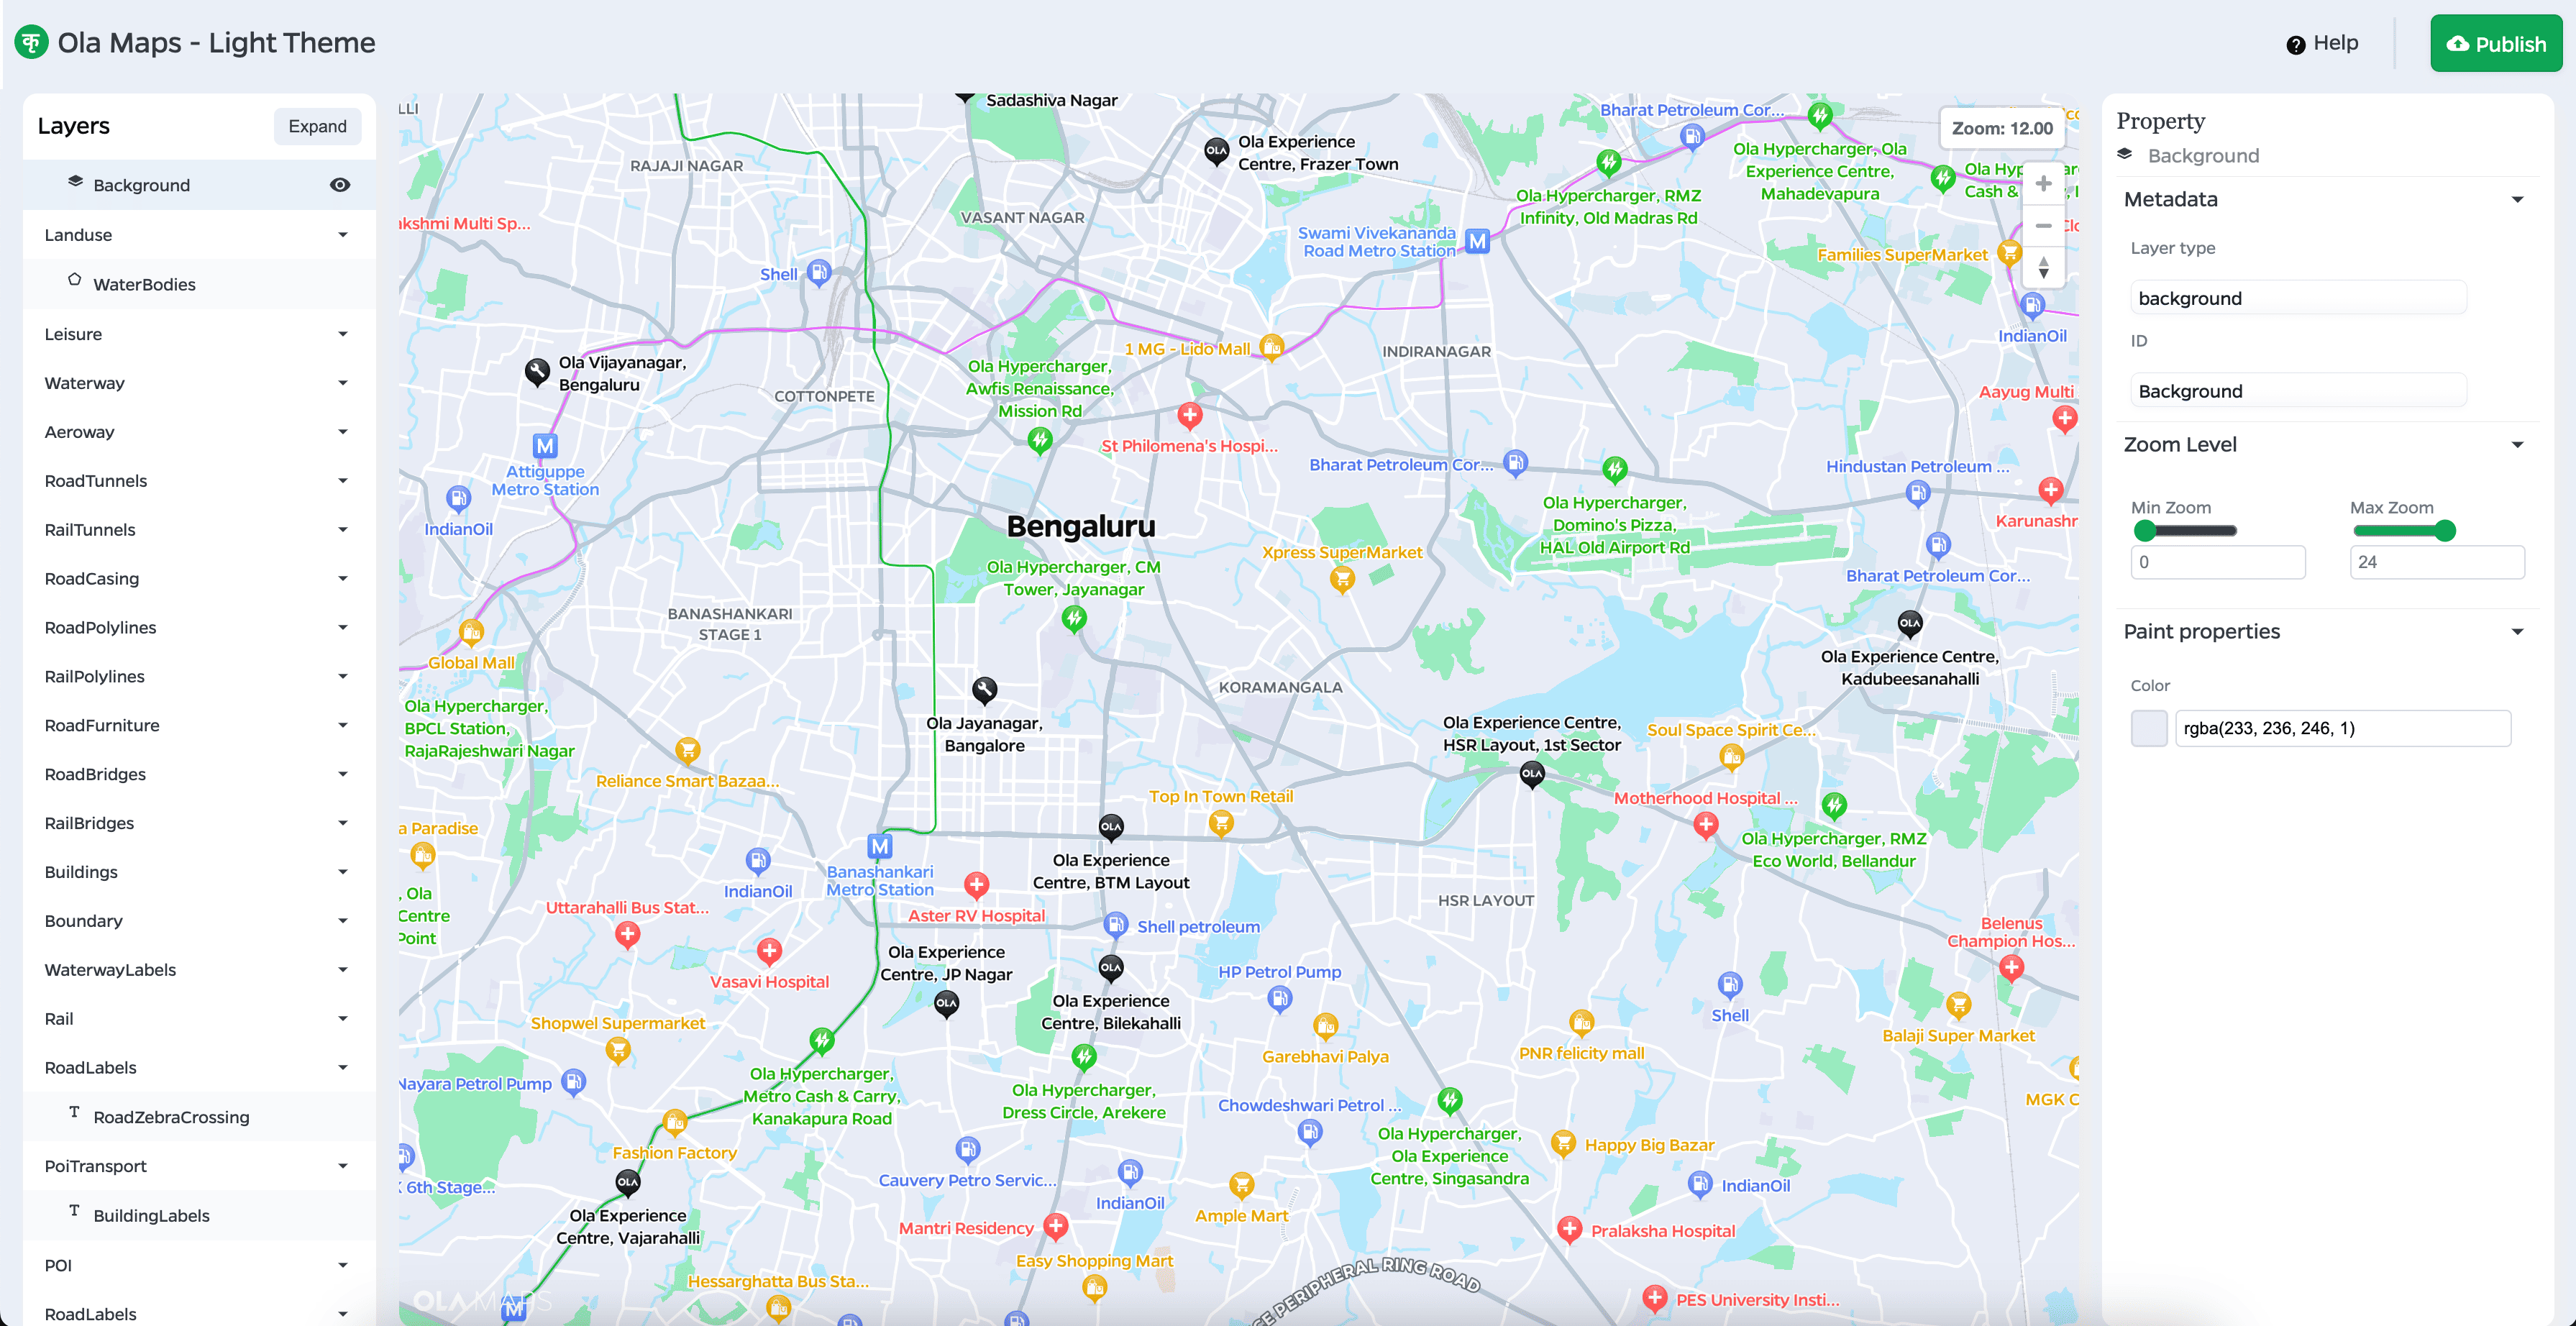
- Map view: The center panel previews the map and updates as you make changes. Pan and zoom to review your style in different locations and at different levels of detail.
- Layers panel: The left panel lists the visual layers that make up the map, including roads, water, buildings, land areas, boundaries, labels, and points of interest.
- Properties panel: The right panel displays the settings available for the selected layer, such as visibility, color, and text size.
4. Customize a layer
Select a layer from the left panel, then use the properties panel to make supported changes:
- Visibility: Show or hide the selected layer. This can simplify the map or draw attention to the information that matters most to your application.
- Color: Change the displayed color for supported features such as land, water, and roads.
- Text size: Adjust the size of supported labels to improve readability.
5. Save and publish your style
Use the controls in the top-right corner when you are ready to keep or publish your changes: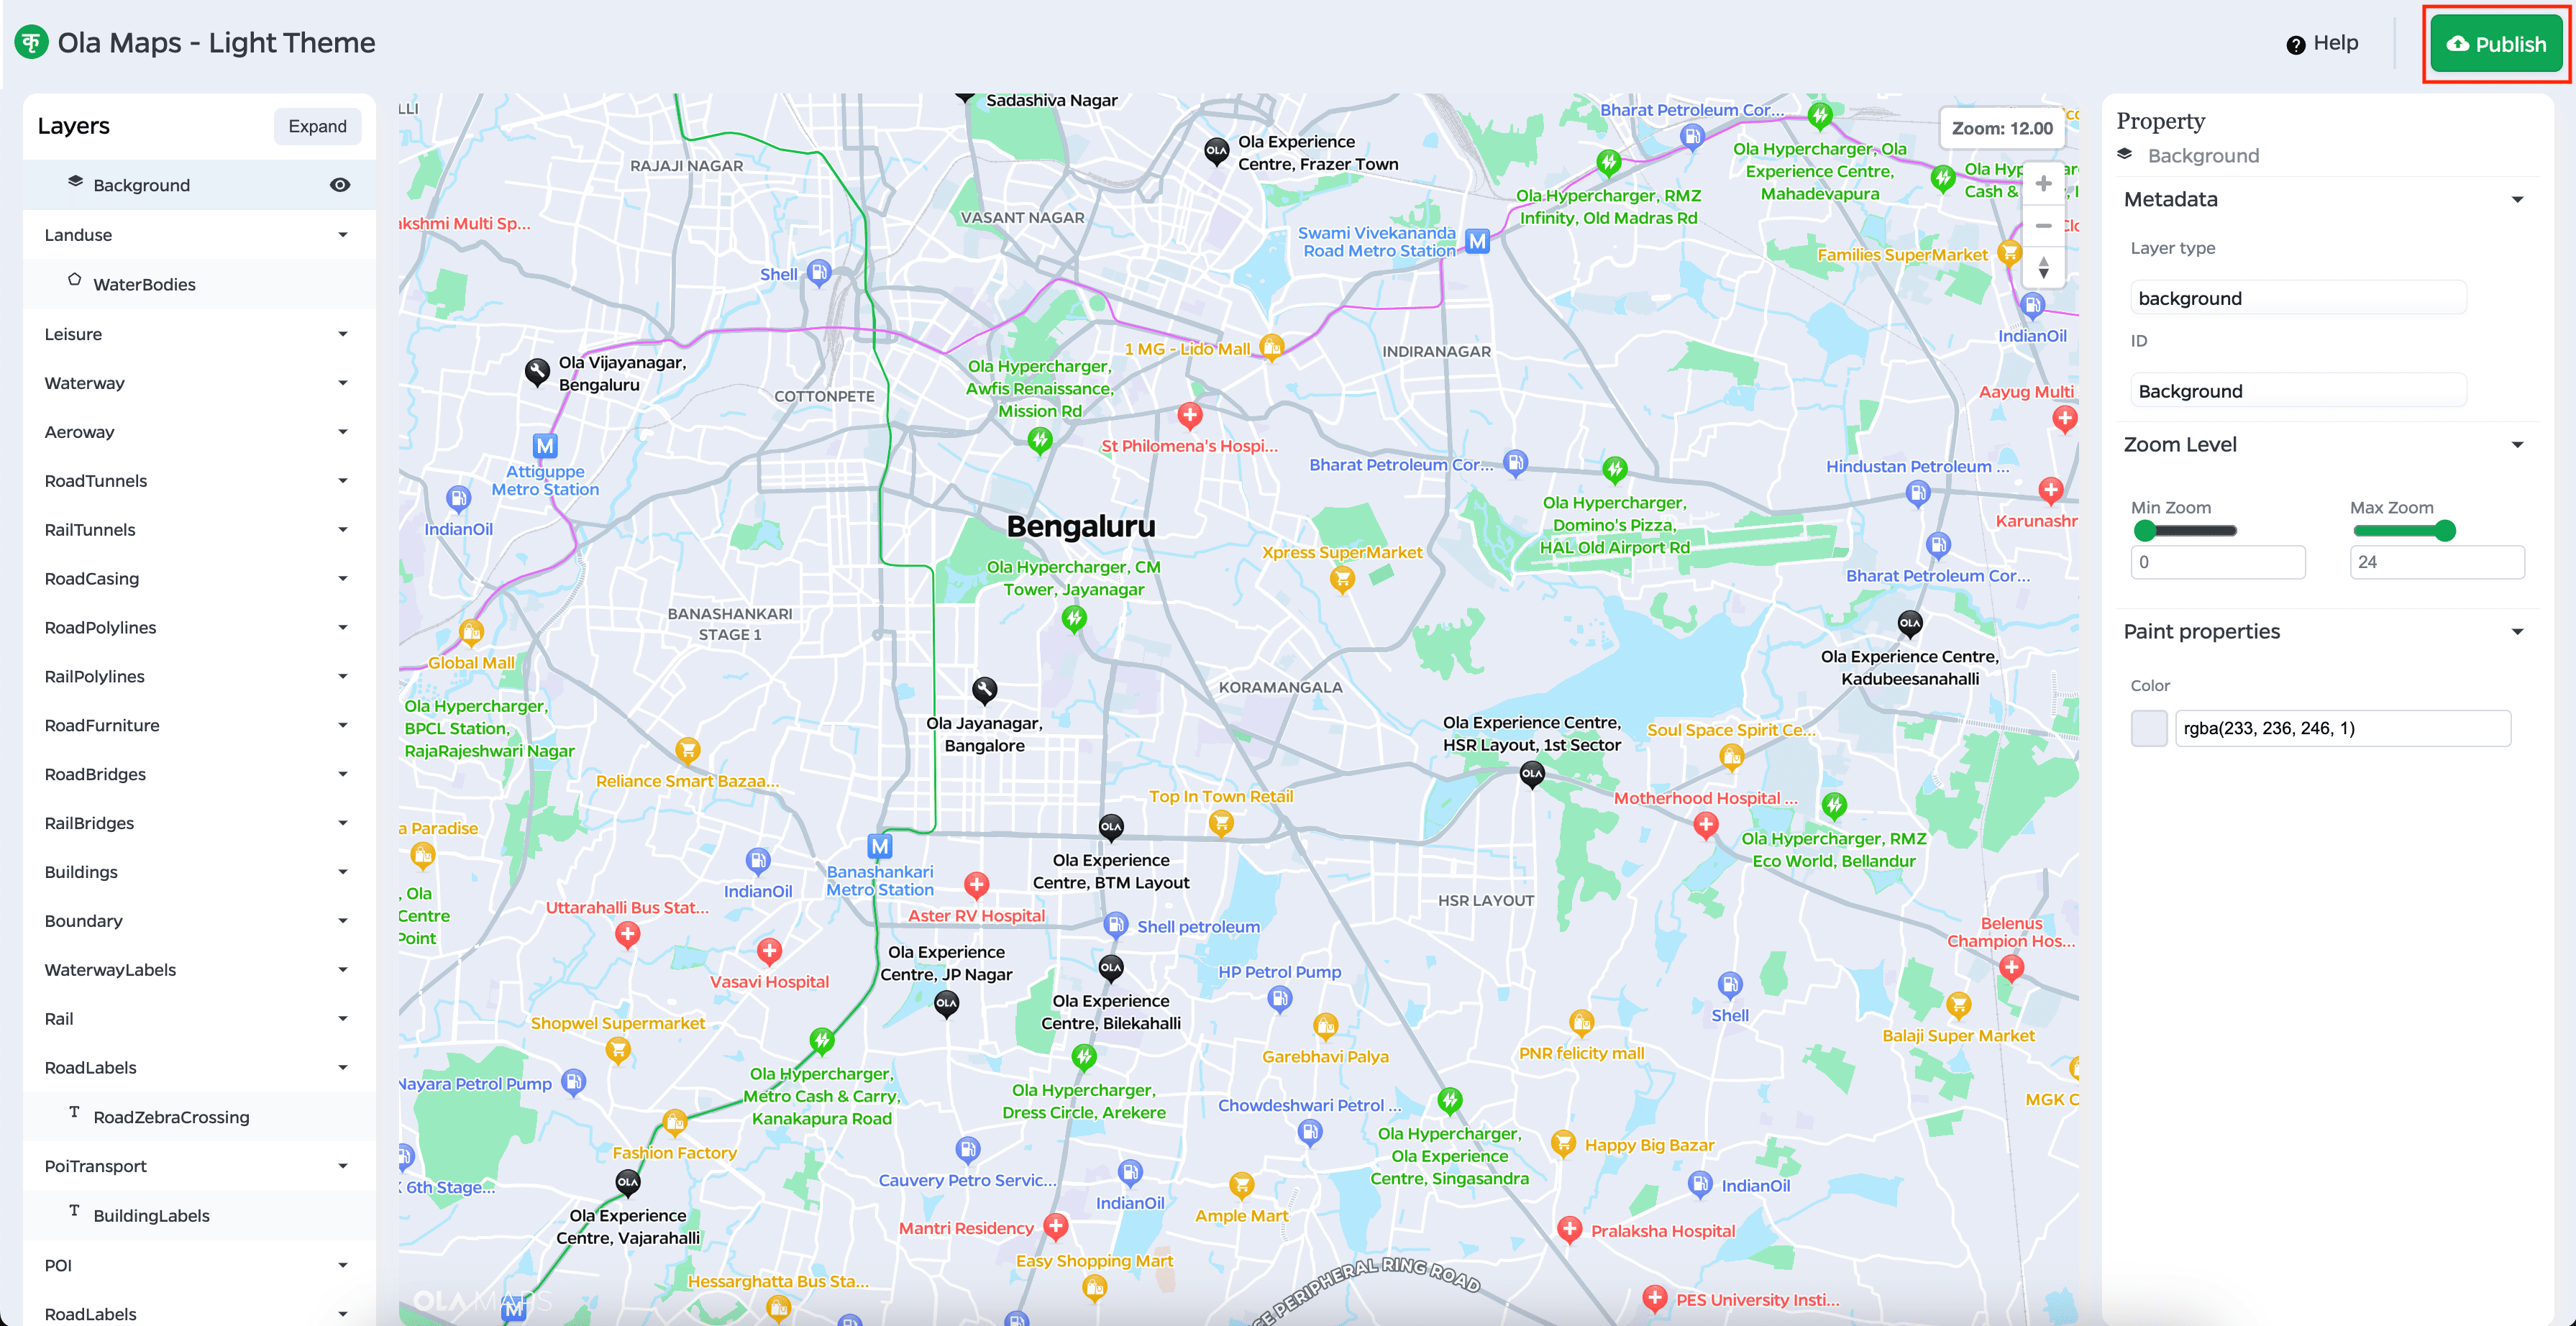
- Save: Keep your latest edits so you can return and continue working later.
- Publish: Make the completed style available in the Your Styles section of Map Studio so it can be used in your application.
Example 1: Change the color of water
Objective
Change the appearance of oceans, rivers, and lakes so water is easier to distinguish from the surrounding map.
Steps
- Find and select the water layer in the layers panel.
- Open the color control in the properties panel.
- Choose the color you want. For example, use
#0077b6for a deeper blue. - Review the change in the map view and check it at multiple zoom levels.
- Save the updated style when you are satisfied with the result.
Result
Supported water features now use the selected color throughout the custom style.
Example 2: Change the color of major roads
Objective
Give primary and trunk roads a distinct color to improve their contrast against the rest of the map.
Steps
- Find and select the
road_primary_trunklayer in the layers panel. - Open the color control in the properties panel.
- Choose the road color you want. For example, use
#A57B5Bfor a dark brown. - Review the roads in the map view at both close and wide zoom levels.
- Save your changes, then publish the style when it is ready.
Result
Primary and trunk roads now use the selected color, making them easier to identify on the map.
Working with layers and zoom levels
Layers are drawn in a specific order. Content near the top of the layers panel can sit below content that appears later, so changing layer order may hide important features or labels. Preview the full map carefully whenever you adjust the order.
Some geographic features are available only at particular zoom levels. A building may appear only in a close view, while boundaries and major roads can remain visible from farther away. These data limits take priority over visibility settings in your custom style. Review every edited layer across the relevant zoom range before publishing.
Use your style with the Ola Maps Web SDK
We recommend the Ola Maps Web SDK for displaying a map with your published style. The Web SDK provides the supported integration for loading and rendering your map in a web application.